

Using the Standard Ticket Widget with Custom Tables in ServiceNow
I show you how to configure the Standard Ticket Widget in order to allow using Custom Tables.

The Standard Ticket widget came out not too many versions ago now and with it a bunch of ground gears for yours truly.
The heart of my frustration came with the inability to use it with Custom or Non-Task tables, however, NOT TO FEAR!
Below I outline a method I've used to allow custom and non-task tables to be used with the standard ticket widget, hopefully this assists a few of you out there that do a lot of custom portal work.
Update the Standard Widget Configuration
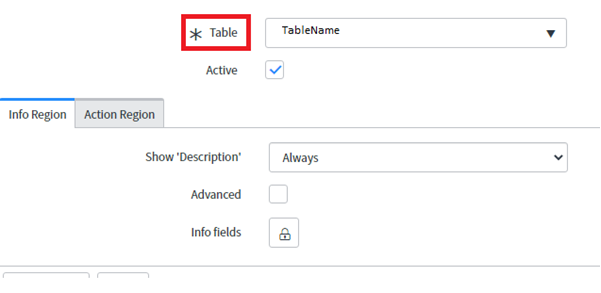
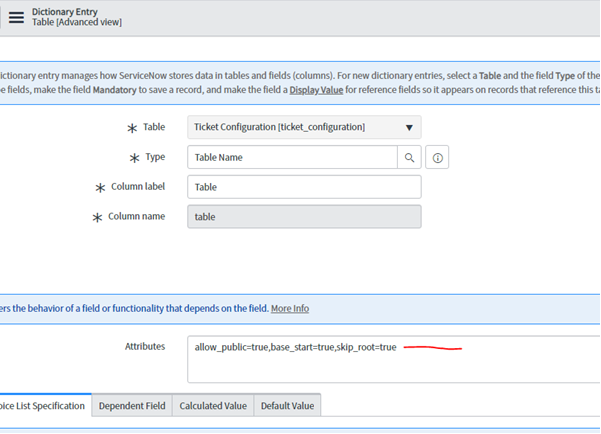
First, we want to modify the table field on the form by right clicking and going to configure dictionary.
Next, we want to remove an attribute from the Attributes field, I believe it's called "base_table = task". This will remove the task-based limitation for the field.
Save the dictionary record.
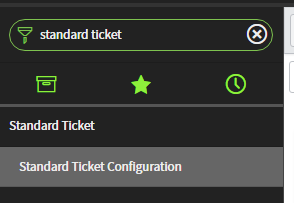
Now we can go in and create a new Standard Ticket Configuration for our custom or non-task table. Select the table name from the now unblocked table selection field.
Once this is complete and you have a configuration record in place, you are basically all set! See additional cool things below.
Note: After saving this record and testing it out, you may find you get errors when using the Activity tab configuration, the most likely cause of this is not having a work notes field on your custom table. You can resolve this by removing the Activity tab configuration record for your custom table.
Custom Details Tab
Now additionally, we can create a new Tab configuration so we can display all the fields we want from our custom table. This works by creating a custom widget to render the fields onto our new tab configuration record.
Start by creating a widget with the following components. The code is below, customise as you see fit.
<div>
  <div ng-repeat="field in data.fieldData">
    <strong>{{field.label}}</strong>
    <p>
      {{field.value}}
    </p>
  </div>
</div>
HTML Template
api.controller=function() {
  /* widget controller */
  var c = this;
};
Client Script
(function() {
	try{
	 data.table = options.table;
	 data.sys_id = options.sys_id;
	 data.fields = options.fields;

	 if(data.table && data.sys_id){
	  var gr = new GlideRecord(data.table);
	  if(gr.get(data.sys_id)){
	   if(data.fields){
	    var splitFields = data.fields.split(",");
	    data.fieldData = [];
	    for(var i=0;i<splitFields.length;i++){
	     var name = gr.getElement(splitFields[i]).getLabel();
	     var dataobject = {
	      "label":name,
	      "value":gr.getDisplayValue(splitFields[i])
	     };
	     if(gr.getDisplayValue(splitFields[i]) != ""){
	      data.fieldData.push(dataobject);
	     }
	    }
	   }
   	 }
	}
	}catch(e){
	 console.log(e);
	}
})();
Server Script
Back in your Ticket Configuration, create a new linked Tab Configuration. I called mine Details.
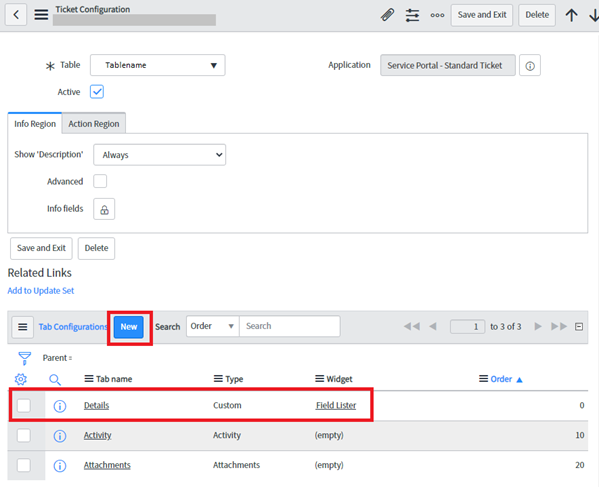
Change the type to Custom, and link to the new widget you just created in the Widget field.
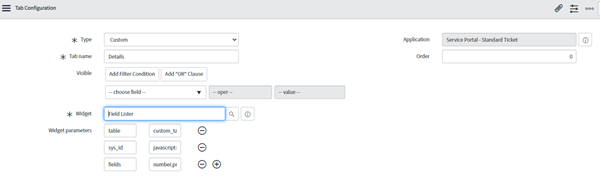
You will need to add the following Widget Parameters in order for the Widget you created earlier to work properly. Essentially, we are passing the widget some data in order to know what to render, it also lets you customize the fields you want to display and the order.
| Key | Value |
|---|---|
| table | x_custom_table_name |
| sys_id | javascript:current.getUniqueValue(); |
| fields | comma,separated,list,of,field,names |
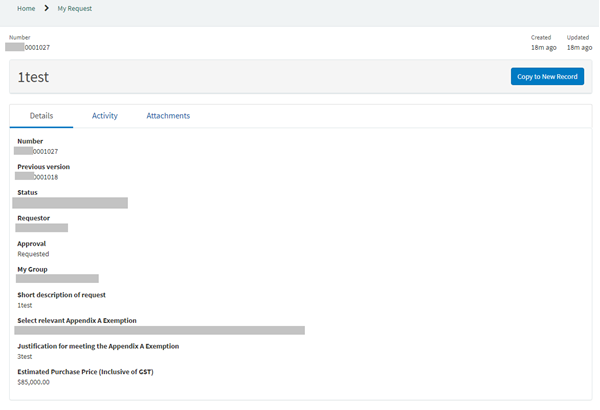
Once you have saved that, you can navigate back to the Standard Ticket Portal Page and view your results!
Here is the output of the custom Tab Configuration showing you all the table fields. You "Should" get similar results if you have included all the components above.
I hope this helps some of you!


Comments ()